
We had reached Baker Street and had topped at the door. He was searching his pockets for the key when someone passing said: “Good-night, Mr. Sherlock Holmes.”
There were several people on the pavement at the time, but the greeting appeared to come from a slim youth in an ulster who had hurried by.
“I’ve heard that voice before,” said Holmes, staring down the dimly lit street. “Now I wonder who the deuce that could have been.”
– “A Scandal in Bohemia”
Sir Arthur Conan Doyle
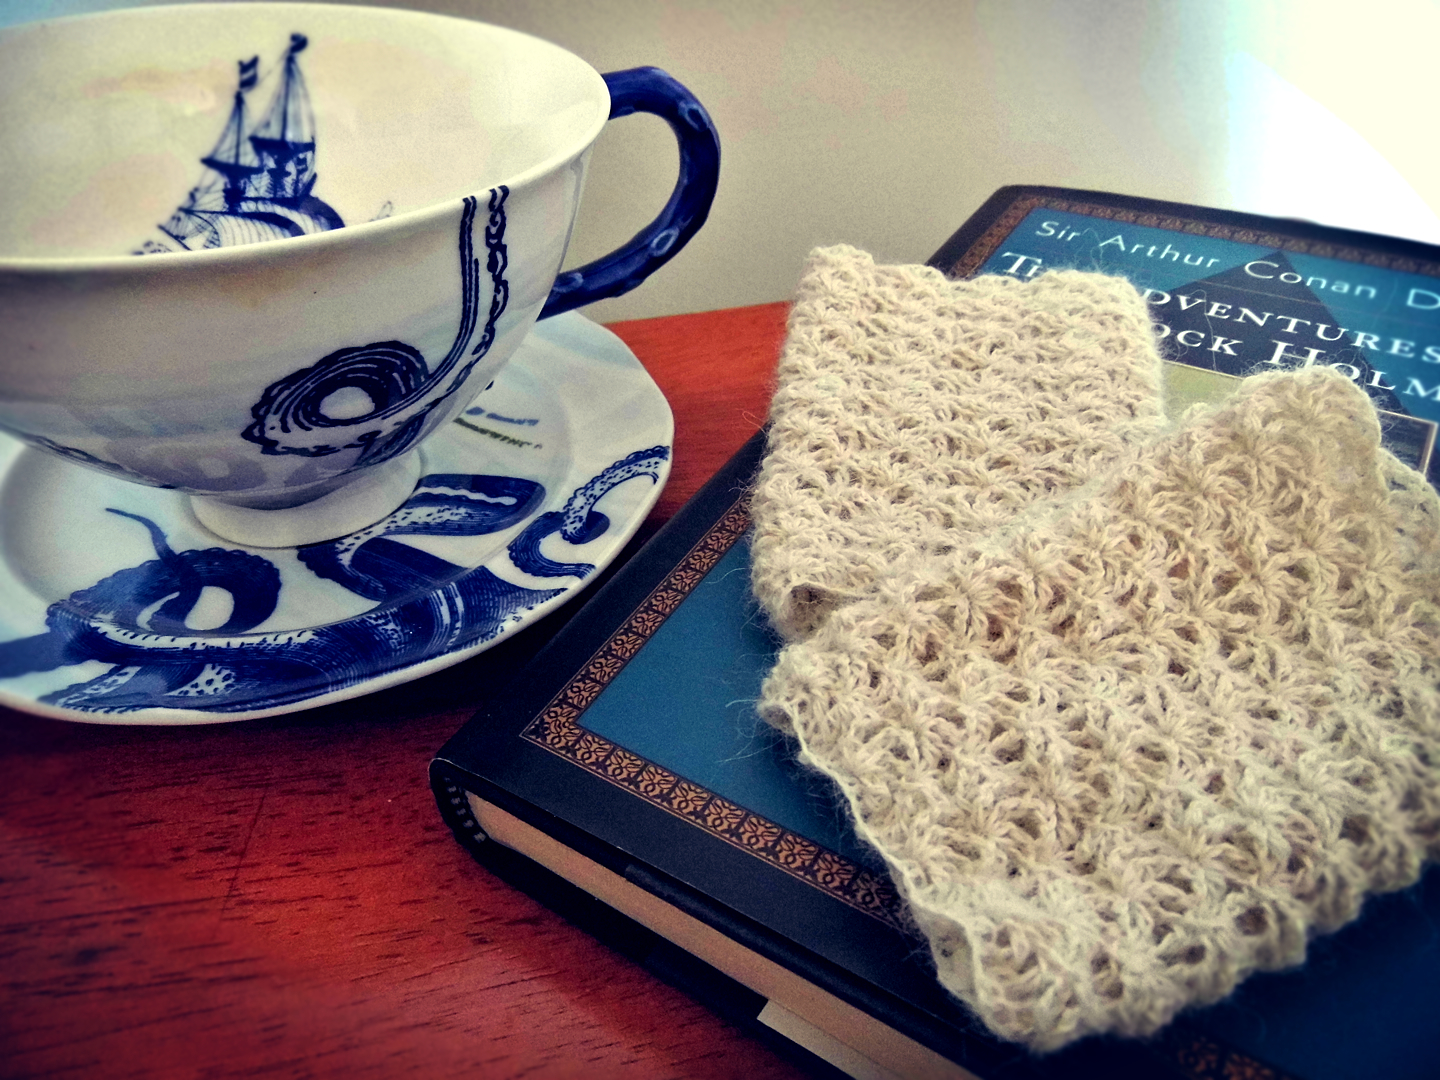
As promised, I’m posting the pattern for the crochet wristers I’ve blogged about a few times. They are very easy, especially once you get them going, and really quite warm. They work perfect for the days you can’t or don’t want to wear fingerless gloves, but want something a little snuggly on your hands. They also add just a little bit of elegance to your wardrobe! And really, don’t shy away from the steel crochet hook– it isn’t that hard to use, I promise!!
I’m currently doing a Sherlock Holmes read-along on Ravelry. (Come check us out if you want to join! You will have to set up a free Ravelry account if you want to post, etc. But it is worth it for so many other reasons!!) As I was making these, I thought they looked rather Victorian, especially in the ecru yarn, but they were still practical. Which then lead me to think about Irene Adler. She’s someone I could see wearing these: she would probably like them because they wouldn’t get in her way, would keep her warm, but they would still look pretty. Irene was, after all, an opera singer!
If you want to read another story/series about Irene Adler, I suggest you check out the book Good Night, Mr. Holmes.

 Goodnight, Mr. Holmes
Copyright 2014 Megan Antoniak/yarnpaint.com
For personal and non-profit use only. Do not sell this pattern or items made from it.
Project Type: Crochet
Skill Level: Moderate
Materials Needed:
- Lace weight yarn, Used: Cascade Lace Alpaca, Ecru (I used leftovers from another project so yardage estimate is maybe 200 yards tops. But it depends on the size of your wrists, too. Mine are freakishly small so I don’t use much yarn.)
- Size 1.5 mm steel crochet hook
- Scissors and yarn needle
- Yarn soak (For blocking, if desired. I didn’t block mine.)
Pattern:
- The pattern is worked flat and then seamed. The stitch pattern is worked as a multiple of 6 + 2. To determine your foundation chain length, take your hook and your yarn and begin to work a crochet chain being certain to chain loosely. As you work, test the size against your wrist– making certain to stop at multiples of six. You want something that is just a little loose against your wrist, but not too much or else it will sag and be sloppy on your wrist later on. But it needs to be big enough to slide over your hands. If you find that this won’t ever seem to work and won’t side over your hands, but fits on your wrist, make the size larger than your wrist so that it will slide over your hands and add a ribbon through the bottom (near the foundation chain) to tighten it up later when you have completed your wristers.
- When you have determined your foundation chain length, chain 2 more (for the + 2) then write down the number so you will remember for the second wrister. For example, mine is 54 + 2. (54 being a multiple of 6 with 2 additional chains added.)
- Turn and work 1sc into the 2nd chain from the hook, *skip 2 chains, then work (1 dc, ch2, 1dc, ch2, 1dc) into the next chain, skip 2 chains and 1sc in the next chain. Repeat from * across
- Turn and chain 5 then work 1dc into the first sc (directly below your chain and the last stitch you worked on the previous row), *skip 1dc, work 1sc into next dc, skip 1 dc, into next sc work (1dc, ch2, 1dc, ch2, 1dc), repeat from * across to last sc and working in the last sc (1dc, ch2, 1dc)
- Turn and chain 1, sc into top of the dc you made as the final stitch of the previous row, *skip 1 dc, in next sc work (1dc, ch2, 1dc, ch2, 1dc), skip 1dc, in next dc work 1sc, repeat from * across placing the last sc in the 3rd chain of the chain 5 start of the previous row
- Repeat rows 4 – 5 until the work measures at least 3 1/2” long, or longer depending on your preference.
- At the end of your final row, take the two sides of the piece so that the foundation chain is at the bottom and the row you just completed is at the top and the shape makes a type of tube. Sc down the edges so that they are seamed together. Try to sc into the actual chains (for the chain 5 spaces, etc) rather than in the chain 5 spaces. If you sc into the chain spaces the work will be just a little bulkier at the seam. But if this doesn’t make sense to you, don’t worry. Either way will work!
- Repeat the entire process for the second wrister using the foundation chain length that you wrote down in step 2.
- When the wristers are seamed, feel free to block them if desired to open up the stitch pattern. I didn’t want to personally because I wanted the piece to be a bit denser to keep out the cold, but it is all personal opinion.
And that’s it! You’re all done!
If you have any questions or comments, feel free to comment here!!

